
Plan Reading for Field Engineers in Construction (Step-by-Step Guide)
Plan Reading for Field Engineers in Construction: Step-by-Step Guide. In this video, I’m going to take you through a guide on how a field engineer will approach studying drawings. And if you follow this guide, you are going to be successful.
Now, before I begin, I want you to know that some people want, “Here’s how you read architectural drawings and structural drawings and these specific types of details.” We have that, and it is on our Miro boards that we have on our website. It’s all free on YouTube for field engineers, foremen, and supers. But this video is going to tell you how to approach it.
Let me give you the pattern that I think you will love.
The Pain of Not Knowing How to Read Drawings
Here’s what happens when you don’t know how to read drawings. You guess. You scale dimensions. You assume. And you build it wrong. Rework happens. The owner pays for mistakes. Your credibility suffers. And the team loses trust.
And here’s the deeper problem: if we don’t have the core skill of reading drawings, we’re brokers and we’re not builders. The owner pays us to know how to read drawings. This is a core skill. Without it, you can’t be a field engineer. You can’t create lift drawings. You can’t catch problems before they’re built. You can’t enable the craft.
The pattern I’m going to give you solves this. It forces you to read and understand drawings. It helps you find problems. And it creates lift drawings that enable the craft to build with everything they need.
What Are Lift Drawings (And Why They Matter)
First of all, when you’re talking about field engineering, we can’t talk about field engineering and drawings without lift drawings. A lift drawing, sometimes people don’t know what I’m talking about. Well, if you have architectural drawings, you have structural drawings, and you have mechanical, electrical, plumbing, which are not looped together, let’s say you’re on a laboratory, and you have your lab equipment drawings you’ve got drawings everywhere.
You want to build a single wall. And a lift drawing basically says, “Okay, hey, we’re going to go build this one wall with this footing.” So we’re going to go build this wall, but instead of having drawings for that wall be in a bunch of different locations, we’re going to pull information over from all of these drawings, and that’s the field engineer’s job.
And we are going to one-piece flow put that wall lift drawing, all of the relevant information on one page, if you can, but on one lift drawing that may be multiple pages so that the craft workers and foremen can build it in the field and have everything that they need.
Now, there are craft workers and foremen that don’t need this, but here’s the point, and we’ll cover this later. A field engineer must know this, and it’s the best way to force the reading and understanding of drawings. And we also are trying to find problems.
Scott Berg at Hensel Phelps used to say to me, “If we can’t draw it, we can’t build it.” And it also provides a nice drawing. In fact, one of these days, if we want to get design teams working in a better flow, we will not provide drawings by system and by discipline in a package. We will have them designed by placement or by station or by zone or by assembly.
Just in case you’re like, “Jason, what did he just say?” Designers would design their systems like in Revit, but what they would publish is drawings by zone, by station, or by assembly. If we ever want to get to a really good point where we have really great quality, we will do that. Because the design team in the industry doesn’t work that way, field engineers do this. We must research these drawings to get to a lift drawing.
Step One: Study the Front Matter (Abbreviations)
So, when I have a set of drawings, and by the way, do not fear printing these out. The whole concept of completely paperless is completely bogus. We should be paperless when we need to be paperless, and we should print from sustainable resources when we need to. For me, my brain will not fit into a screen. I need to have these printed out many times. Don’t be afraid of that. It’s complete garbage.
If you have your drawing set, the first thing that you’re going to do is study the front matter. And you have heard me talk about this before, but I want you to be very disciplined with this. Please. I want you to dig in and look at the abbreviations and get familiar. This is basically a language. It’s just like I bought a book the other day, How to Learn Japanese in 60 Days. There’s no different. How to learn construction drawings in 60 days. This is your Rosetta Stone for your spoken language to learn what the designer’s language is.
Here’s the truth: Abbreviations are the language of construction drawings. If you don’t know the abbreviations, you can’t read the drawings. Study them. Learn them. Get familiar. This is your foundation.
Step Two: Read the General Notes (Use Speechify)
Then you’re going to look at the general notes. Now, I’m going to give you some tips here. When I used to say read the general notes, I felt guilty because you got to go get some caffeine, cup of coffee. I shouldn’t joke around, but if I’m joking, I’m being playful, but you got to do something to pay attention because this is really boring.
But nowadays, you can grab your phone and an app called Speechify and just take a picture and it’ll read it to you. And what you’re going to go through is go through and understand what general notes apply to anything that might be in what you’re researching, and specifically that might apply to your lift drawing.
In case you’re like, “Yeah, I love Jason. He looks like Brad Pitt, but I’m not doing that.” I just want you to know, massive project in the Northeast didn’t read this. Didn’t know that as they were going up the building, they had to be a certain amount of levels down in their basement and the excavation in their placement rhythm. And they blew their schedule by 6 months, and it was a massive problem. And that was in the general notes. You’ve got to read them. So, pull out things that are applicable.
Here’s the truth: General notes govern everything. They contain sequencing requirements, placement rhythms, and critical constraints. If you skip them, you’ll blow the schedule. Read them. Use Speechify if you need to. Pull out what’s applicable. This is non-negotiable.
Step Three: Study the Typical Details
The other thing is the typical details. The typical details will govern the rest of everything that you see. Everything else is specific, but it will reference back and anchor to the general notes and the typical details.
Here’s the truth: Typical details are the standard. Everything else references back to them. Study them first. Understand the standard. Then when you see specific details, you’ll understand how they relate to the typical.
Step Four: Trace Details from Plan View (Go 2D to 3D)
Then what I want you to do when you’re studying plans is go to the plan view. And I’ve never drawn this before, so this video is a little bit better. But if you have a plan view, and like let’s say this is the outline of your slab on grade or something, and you see a detail in here, I would say go to that detail, okay? And go look at the associated page where that detail points to.
Go ahead and research all this, and then you can highlight it or put a check mark, and then highlight this or put a check mark, and then move to your next detail, and you start tracing the details, and then you’ll start to go from a 2D to a 3D representation of the building. You’ll really understand it.
And then once you start going through your plan view, trace details. This is one of the best things because in your brain, you start to think and see the building in 3D. And I know that we have building information modeling, but this is a skill we want everyone to have. It’s absolutely crucial.
Here’s how to trace details from plan view:
- Start with the plan view: Find a detail callout on the plan (like a wall section or foundation detail)
- Go to the referenced detail: Follow the callout to the associated page and study the detail
- Highlight or check mark both: Mark the plan view callout and the detail page so you know you’ve studied both
- Move to the next detail: Repeat the process for every detail on the plan
- Build a 3D mental model: As you trace details, your brain will start seeing the building in 3D instead of 2D
This is the best way to force reading and understanding of drawings. If you can’t draw it, you can’t build it. Tracing details from plan view builds your 3D mental model.
Step Five: Eat the Frog (MEP and Complex Drawings)
The other thing is I’m going to write this: eat the frog. If you’ve ever heard of this concept, it says if you have this big, nasty thing you got to do in a day, eat the frog first at the beginning of the day or else you’ll keep procrastinating.
And what I mean by this is there’s other things like the mechanical, electrical, plumbing drawings, which are harder to understand than architectural or structural. Or you’re going to go research the one-line, the single-line diagram for the electrical. Or you’re going to go research the flow diagram for your HVAC system or your hydraulic piping system. These are things you need to know.
And you can’t just be like, “Oh, I know architectural and structural,” and avoid eating the frog. Go eat the frog and get familiar with these because you need to understand those as well.
Here’s the truth: MEP drawings are harder than architectural and structural. Single-line diagrams and flow diagrams are complex. And most field engineers avoid them. Don’t. Eat the frog first. Study MEP early in the day. Get familiar. You need to understand these. If your project needs superintendent coaching, project support, or leadership development, Elevate Construction can help your field teams stabilize, schedule, and flow.
Step Six: Ask Questions (Trade Partners Love Helping)
And then the last thing that I would say: ask questions when you have them. There is no exception to this. Trade partners love answering your questions and being the subject matter expert. So, you’ve got to take this approach if you ever want to understand it or be able to draw it so you can build it.
Here’s the truth: Trade partners love being the subject matter expert. They love answering questions. Don’t be shy. Ask. That’s how you learn.
Critical Rule: Never Scale Dimensions
One other thing. Don’t ever scale dimensions from the drawings, and don’t ever assume. If it’s not on the drawings, our legal precedent for this is you must write an RFI and receive a response and post it to the drawings. We never assume. We do not design through the submittal, and we do not guess, and we do not scale dimensions. If it ain’t on here, don’t go out and try and build it that way. You’ll get yourself in trouble. The drawings are our base.
Here’s the truth: Scaling dimensions creates legal liability. If it’s not dimensioned on the drawing, write an RFI. Get a response. Post it to the drawings. Never assume. Never guess. Never scale. The drawings are the legal base.
A Challenge for Field Engineers
Here’s what I want you to do this week. Pick a drawing set. Study the front matter. Read the general notes with Speechify. Study the typical details. Trace details from plan view. Eat the frog study MEP. Ask questions. And never scale dimensions.
And I recommend that you study these 20 to 30 minutes a day so that you’re always familiar and always out ahead. The owner pays us to know how to read drawings. This is a core skill. If we don’t have it, we’re brokers and we’re not builders.
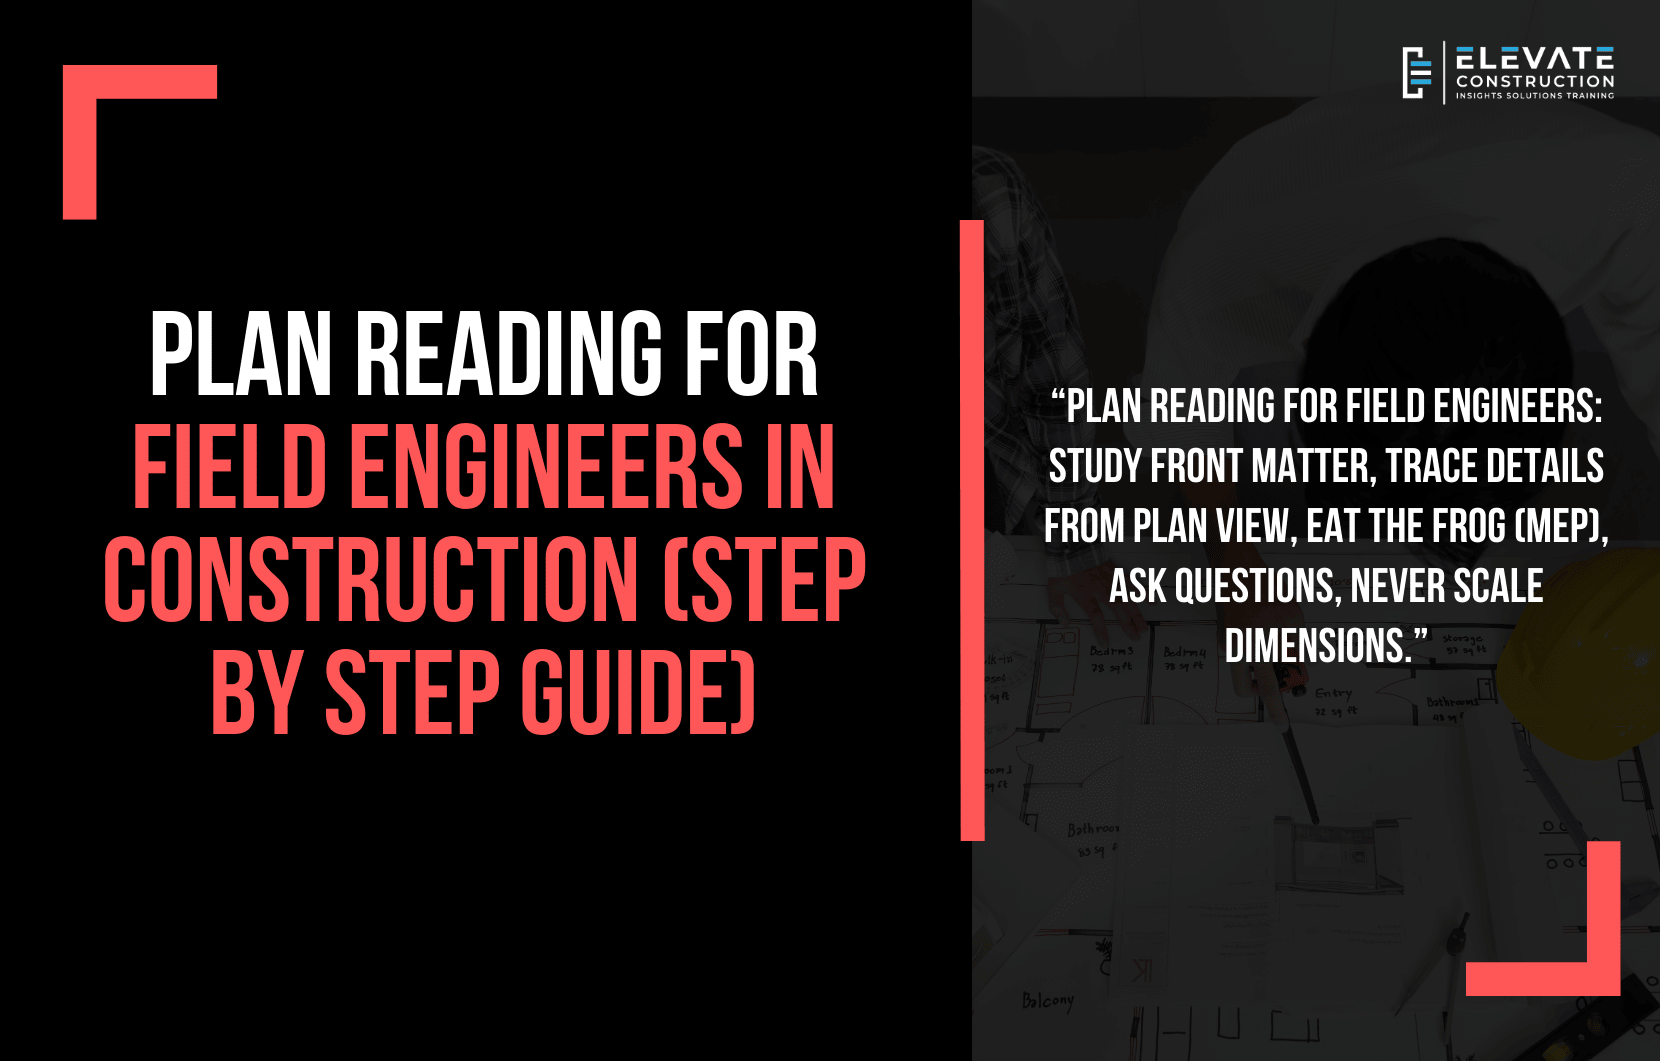
As we say at Elevate, plan reading for field engineers: study front matter, trace details from plan view, eat the frog (MEP), ask questions, never scale dimensions. That’s how you build the skill.
On we go.
Frequently Asked Questions
What are lift drawings and why do field engineers create them?
Lift drawings pull information from architectural, structural, MEP, and specialty drawings onto one page so craft workers can build with everything they need. They force field engineers to read and understand drawings and help find problems before construction.
Why study the front matter and abbreviations first?
Because abbreviations are the language of construction drawings. If you don’t know the abbreviations, you can’t read the drawings. Study them first. They’re your Rosetta Stone for learning the designer’s language.
How do you trace details from plan view?
Start with the plan view, find a detail callout, go to the referenced detail page, study it, highlight both, then move to the next detail. This builds a 3D mental model in your brain.
What does “eat the frog” mean for field engineers?
Study the hardest drawings first MEP, single-line diagrams, flow diagrams. These are harder than architectural and structural. Most field engineers avoid them. Don’t. Eat the frog first thing in the day.
Why should you never scale dimensions from drawings?
Because scaling creates legal liability. If it’s not dimensioned on the drawing, write an RFI, get a response, and post it to the drawings. Never assume, never guess, never scale.
If you want to learn more we have:
-Takt Virtual Training: (Click here)
-Check out our Youtube channel for more info: (Click here)
-Listen to the Elevate Construction podcast: (Click here)
-Check out our training programs and certifications: (Click here)
-The Takt Book: (Click here)
Discover Jason’s Expertise:
Meet Jason Schroeder, the driving force behind Elevate Construction IST. As the company’s owner and principal consultant, he’s dedicated to taking construction to new heights. With a wealth of industry experience, he’s crafted the Field Engineer Boot Camp and Superintendent Boot Camp – intensive training programs engineered to cultivate top-tier leaders capable of steering their teams towards success. Jason’s vision? To expand his training initiatives across the nation, empowering construction firms to soar to unprecedented levels of excellence.
On we go